|
|
Step 3 PSP
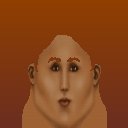
With the white areas still selected, choose a light and dark shade of a color that you like from the palette (I've used R107 G46 B32 for the background and R144 G63 B1 for the foreground.) In the Styles pull out box, select Gradient, #1 Foreground/Background for your foreground color. Now select the fill tool and fill in the white areas.
|
|
Ooh, such brushy eyebrows. Lets trim them up a bit, eh? Ah, much, much better. If you've deselected everything to trim them up, only select the eyebrows. If you haven't deselect everything, do it now and only select the eyebrows. To make this easier, you might want to increase the tolerance of the magic wand to about 40-45.
To promote them to another layer, have the eyebrows selected and go Selections/Promote to Layer or Shift+Cntrl+P. Now, without deselecting the eyebrows, switch back to the main hair layer and delete the eyebrows on that layer.
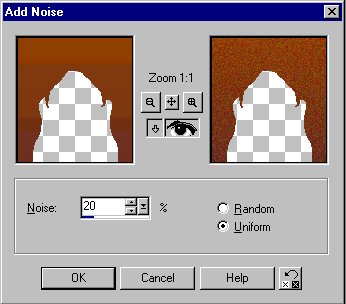
Now, go to Effects/Noise/Add Noise. Mess with the settings (though you might wanna keep the settings on Uniform) until you get an effect you like. I find its generally best to keep it on a lower number, because PSP tends to add green specks.
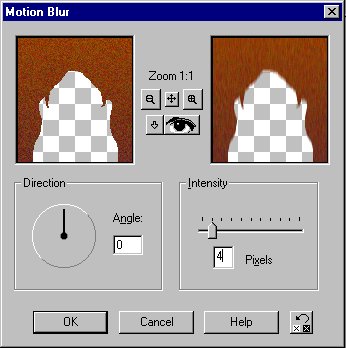
Its time to make it look like hair. ^_^ Go to Effects/Blur/Motion Blur. Keep the height down to about 4 or else the hair will smear. Eek! The angle should be set at either straight up (0°) or straight down (180°).
You should now have something like this:
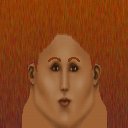
Now that thats out of the way, its on to the eyes!
Page 4 --->